|
|
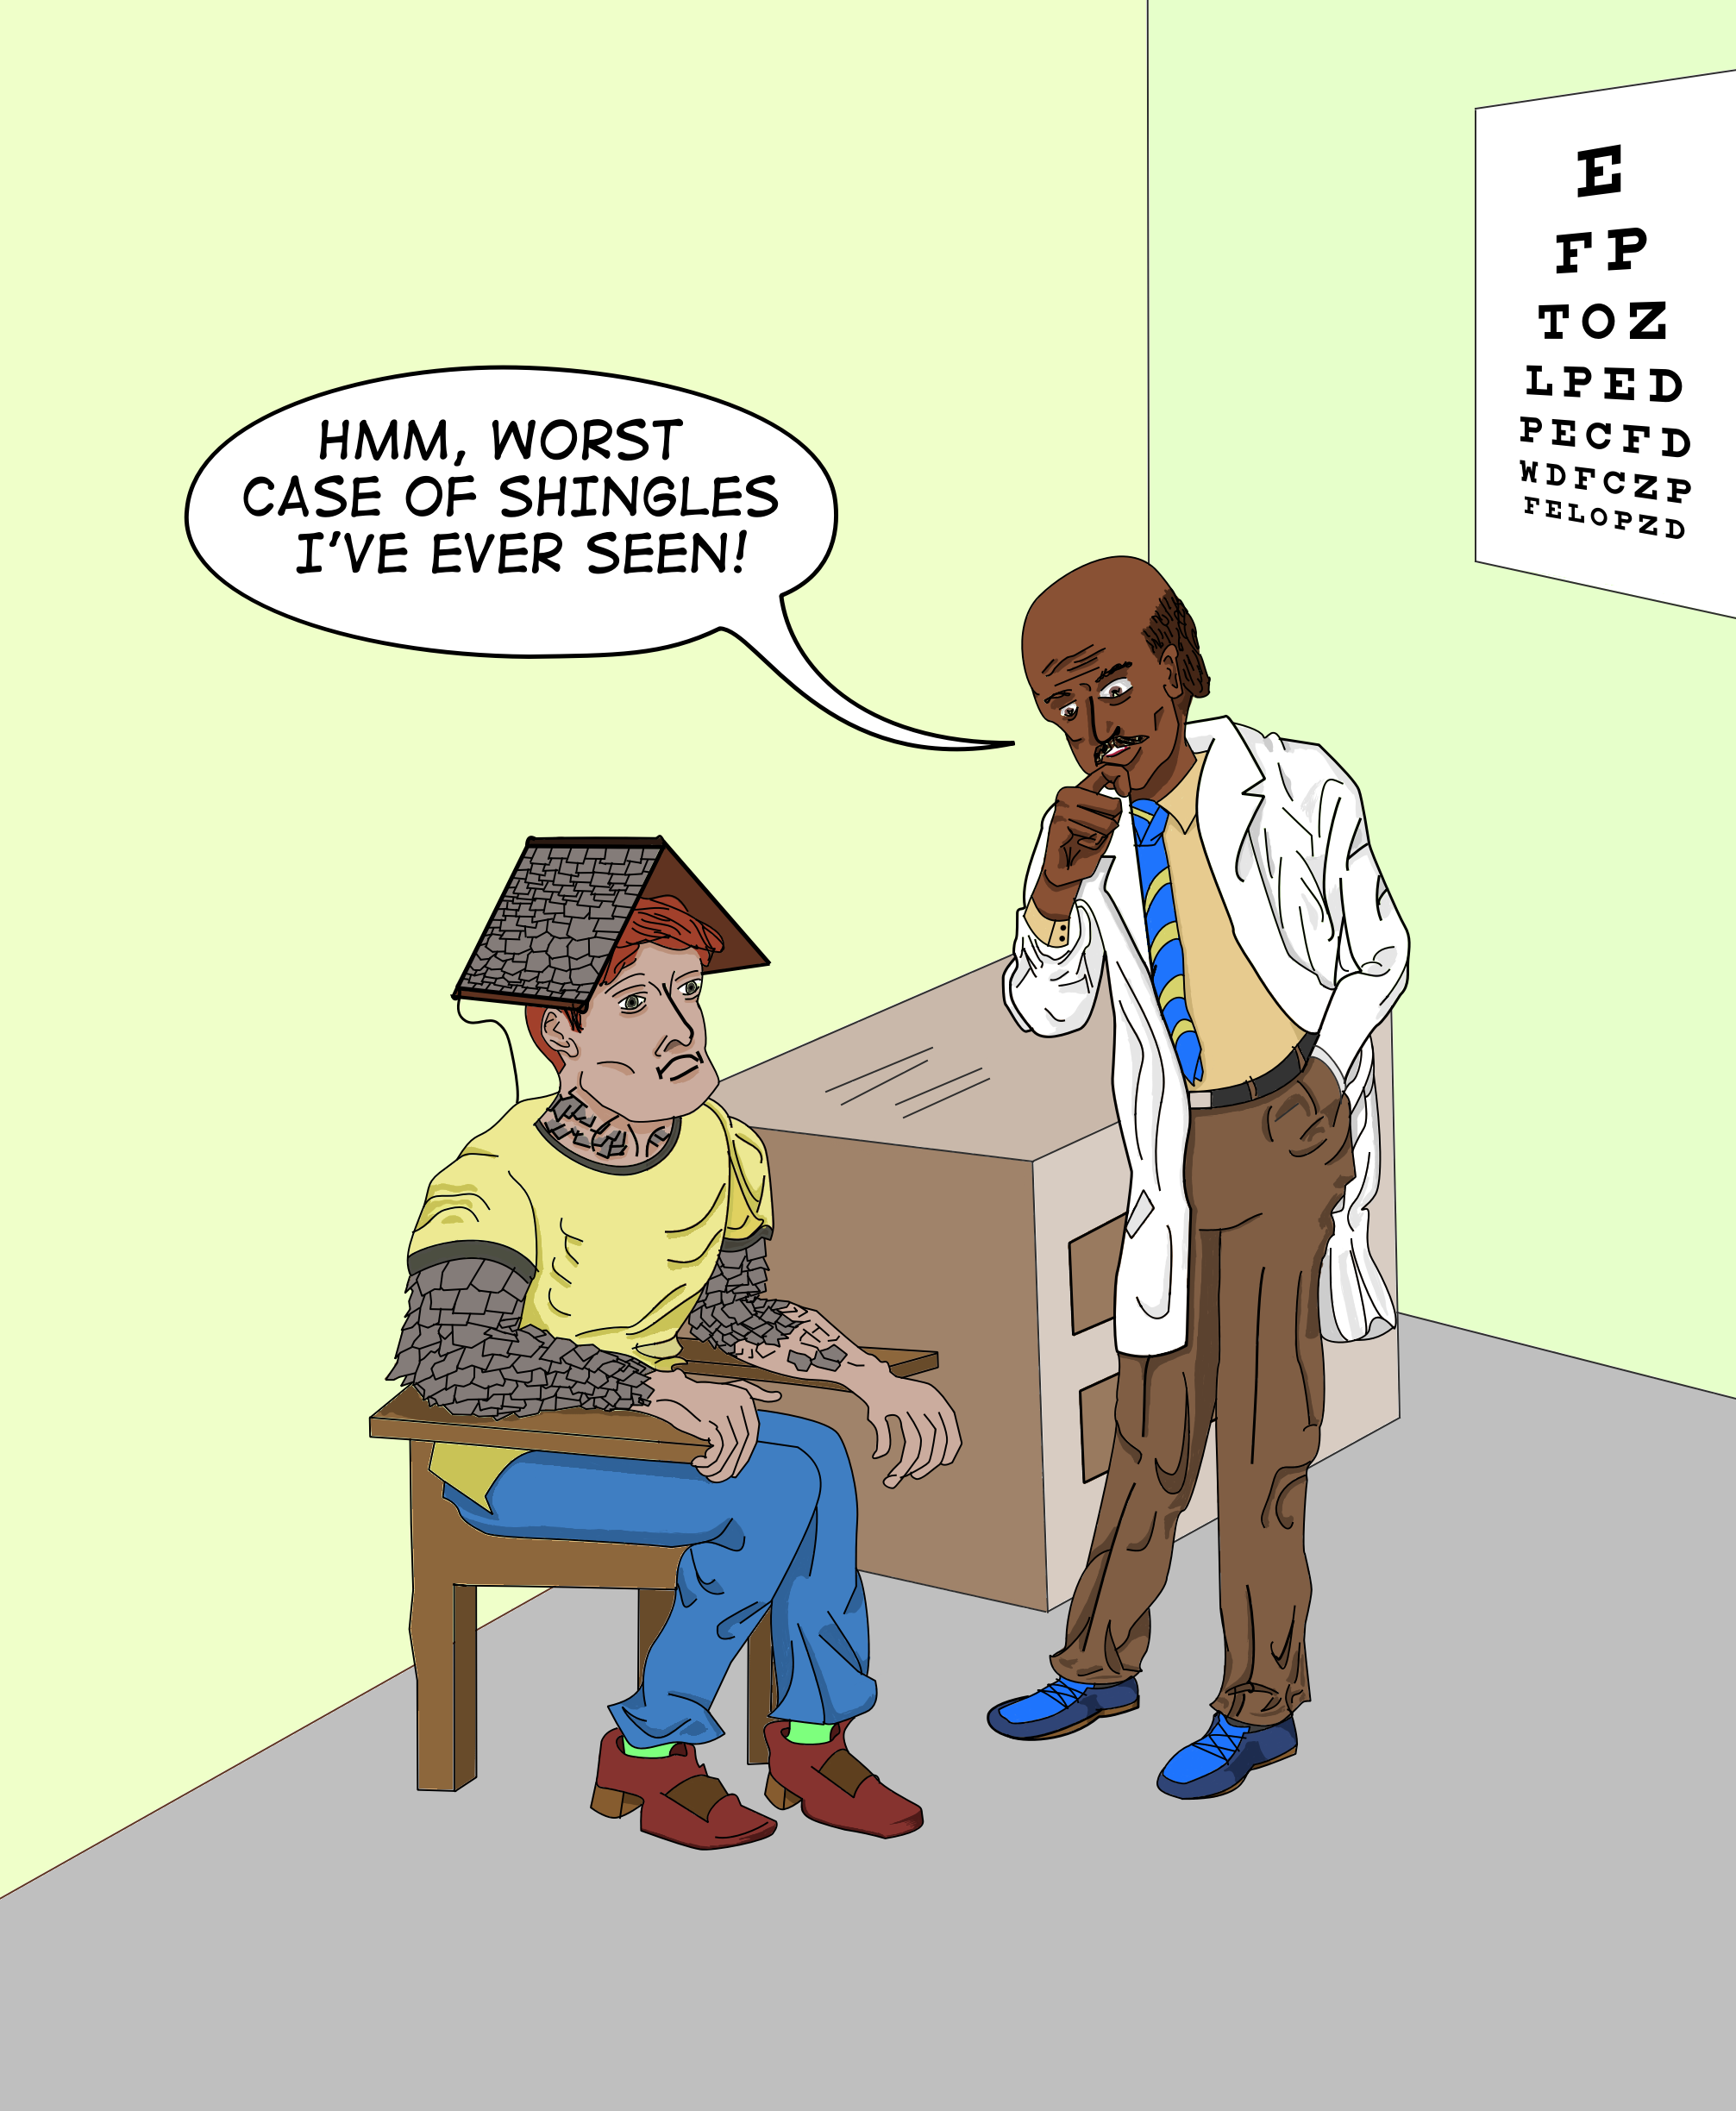
| Potential Side Effects May Include... |
![["And also, your gutters are clogged and your downspouts are leaking."]](images/Drawings/Sketches/shingles-sm.png "[\"And also, your gutters are clogged and your downspouts are leaking.\"]")
|
|
February 23, 2026
I got a shingles vaccine last week (actually, it was the 2nd dose). No big
deal, my arm felt a little sore for a day. But that got me thinking about
what would happen if I hadn't had the vaccine. Technically, I'd get
chickenpox, since I've never had chickenpox and that could be serious,
hence the vaccine. But I prefer to think of the less serious consequences.
But less-serious/more-humorous chickenpox consequences would involve
getting feathers, laying eggs, that sort of thing. I was thinking about
what the comedic consequences of shingles be, since technically that's
what the vaccine was for, and pretty much things went from there.
Details on the process that no one cares about:
(but I write so I'll have a record of them, though there are
some links to different phases of the drawing).
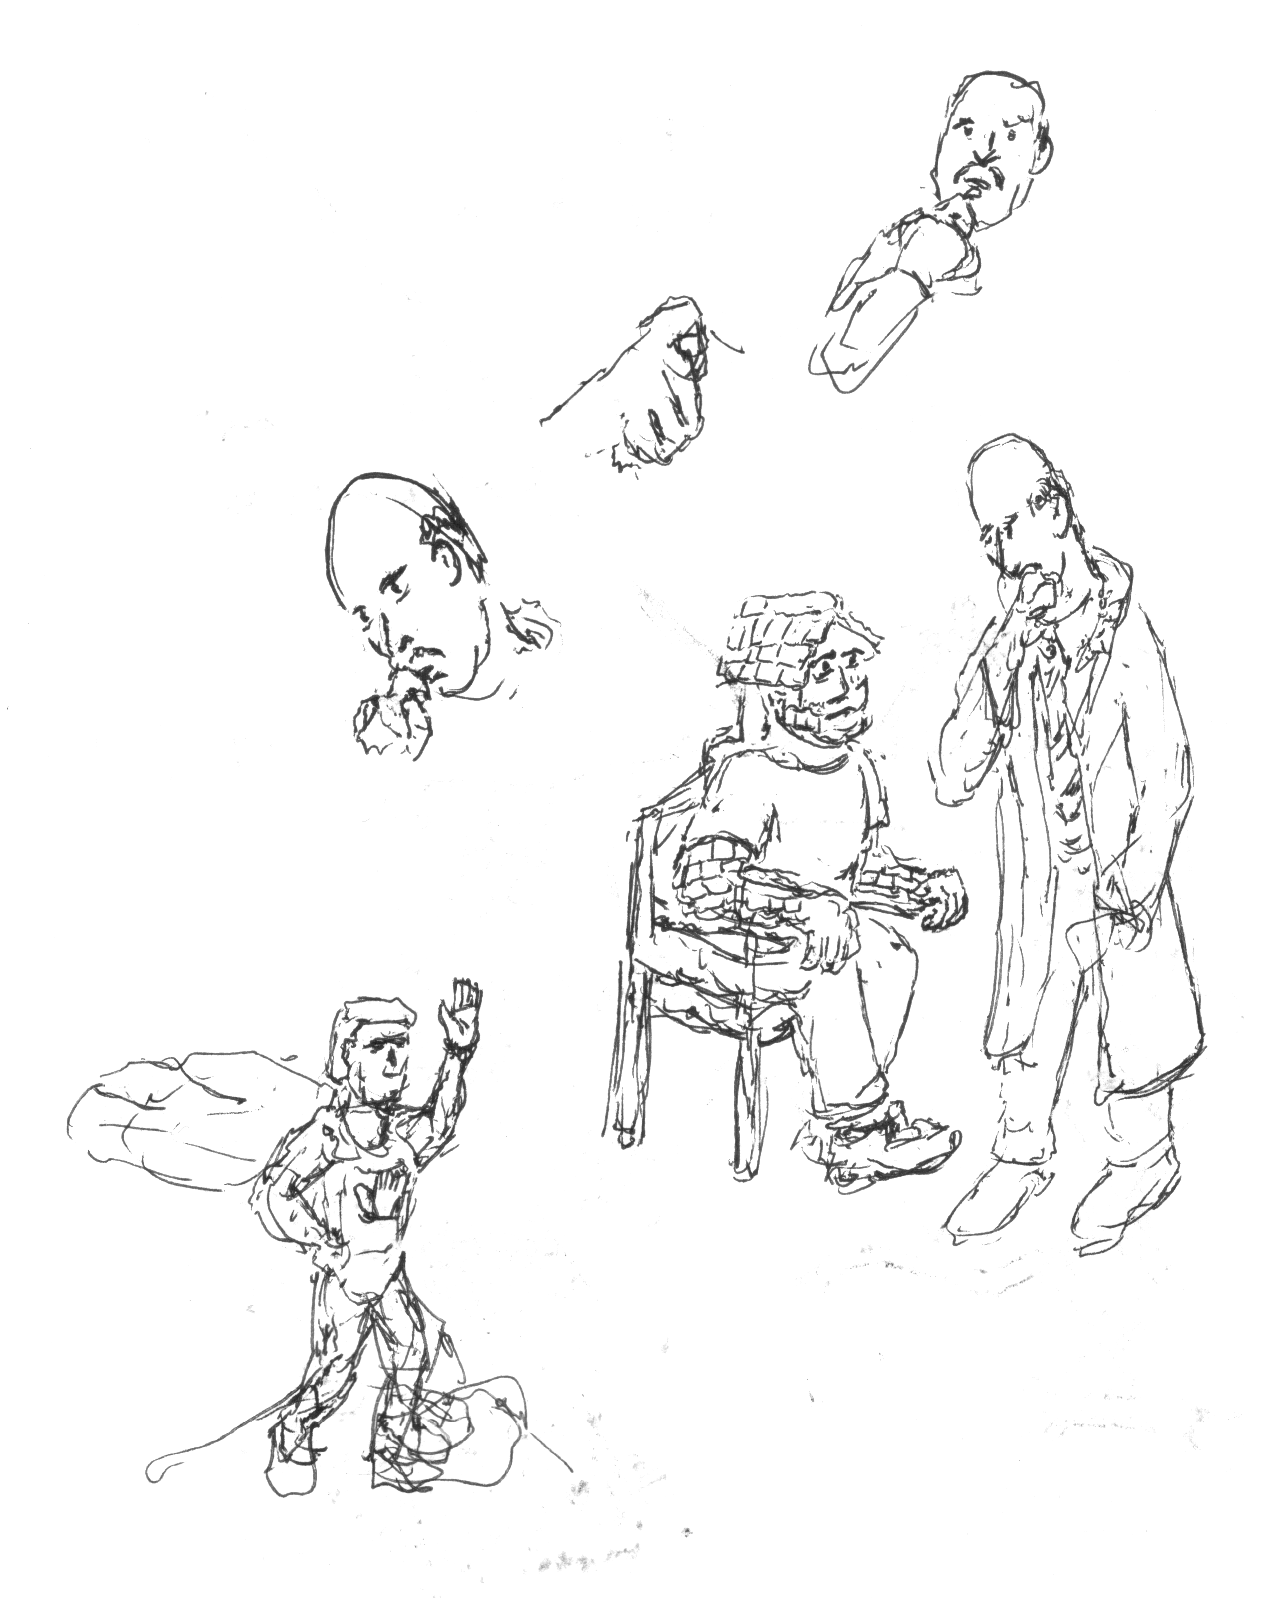
For those curious about the process (i.e., almost no one), I drew a few quick
sketches
to sort of figure out how I wanted to have the doctor and the patient
oriented. That was easy. I always imagined the shingles would be
on the patient's head. But then I thought maybe I should add them
elsewhere, and arms were the obvious place. But to have enough arm
space for enough shingles, that required big arms, which required
a big torso. I was thinking along the lines of The Fantastic Four's
Ben Grimm/The Thing, when drawing that. I wanted the doctor to be
thoughtful, with his finger on his chin, as I imagine a thoughtful
doctor would be while being thoughtful. From the sketches, it should
be obvious I had no idea how to draw that. Also, I didn't
realize until later that I didn't really know what a doctor's white
coat really looked like. And for those who are curious (<sound of
crickets>), the guy in the cape was a different idea I was thinking
about for "High-Five Man" a superhero who would "never leave you hanging'
(i.e., always be there to give someone a high five). That's a hand on
his chest. Maybe I will do something with that, but it'd require more
than a single frame.
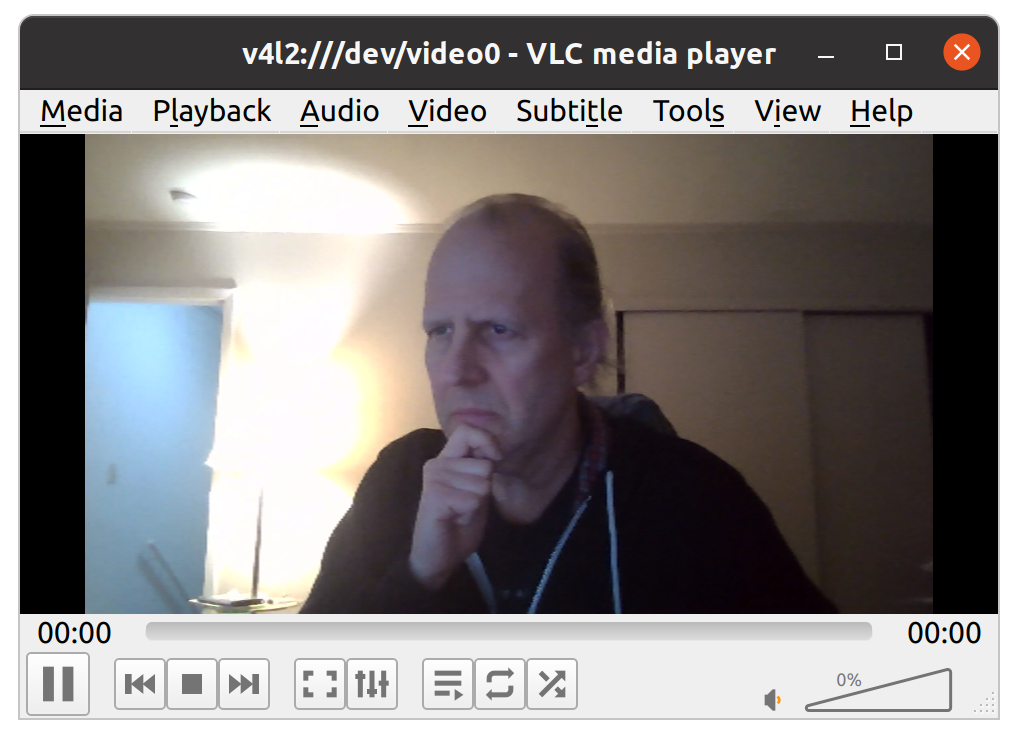
Anyway, after realizing my finger-on-chin drawing was terrible, I
decided I needed a reference image. I couldn't find any. So I used
the camera on my computer and took a
screenshot of me
doing just that and used that as a reference image.
Trying Something Different:
I decided to give Krita a try again, since I can use it for both raster
and vector drawings, it works on Linux, and Linux recognizes my Wacom
Table and it works with full pressure sensitivity. Windows has been
getting a little flaky with it and it's a pain to have to bounce back
and forth between Photoshop and Illustrator. I'm not as familiar with
Krita but it was pretty straightforward and I only had to look up a few
things.
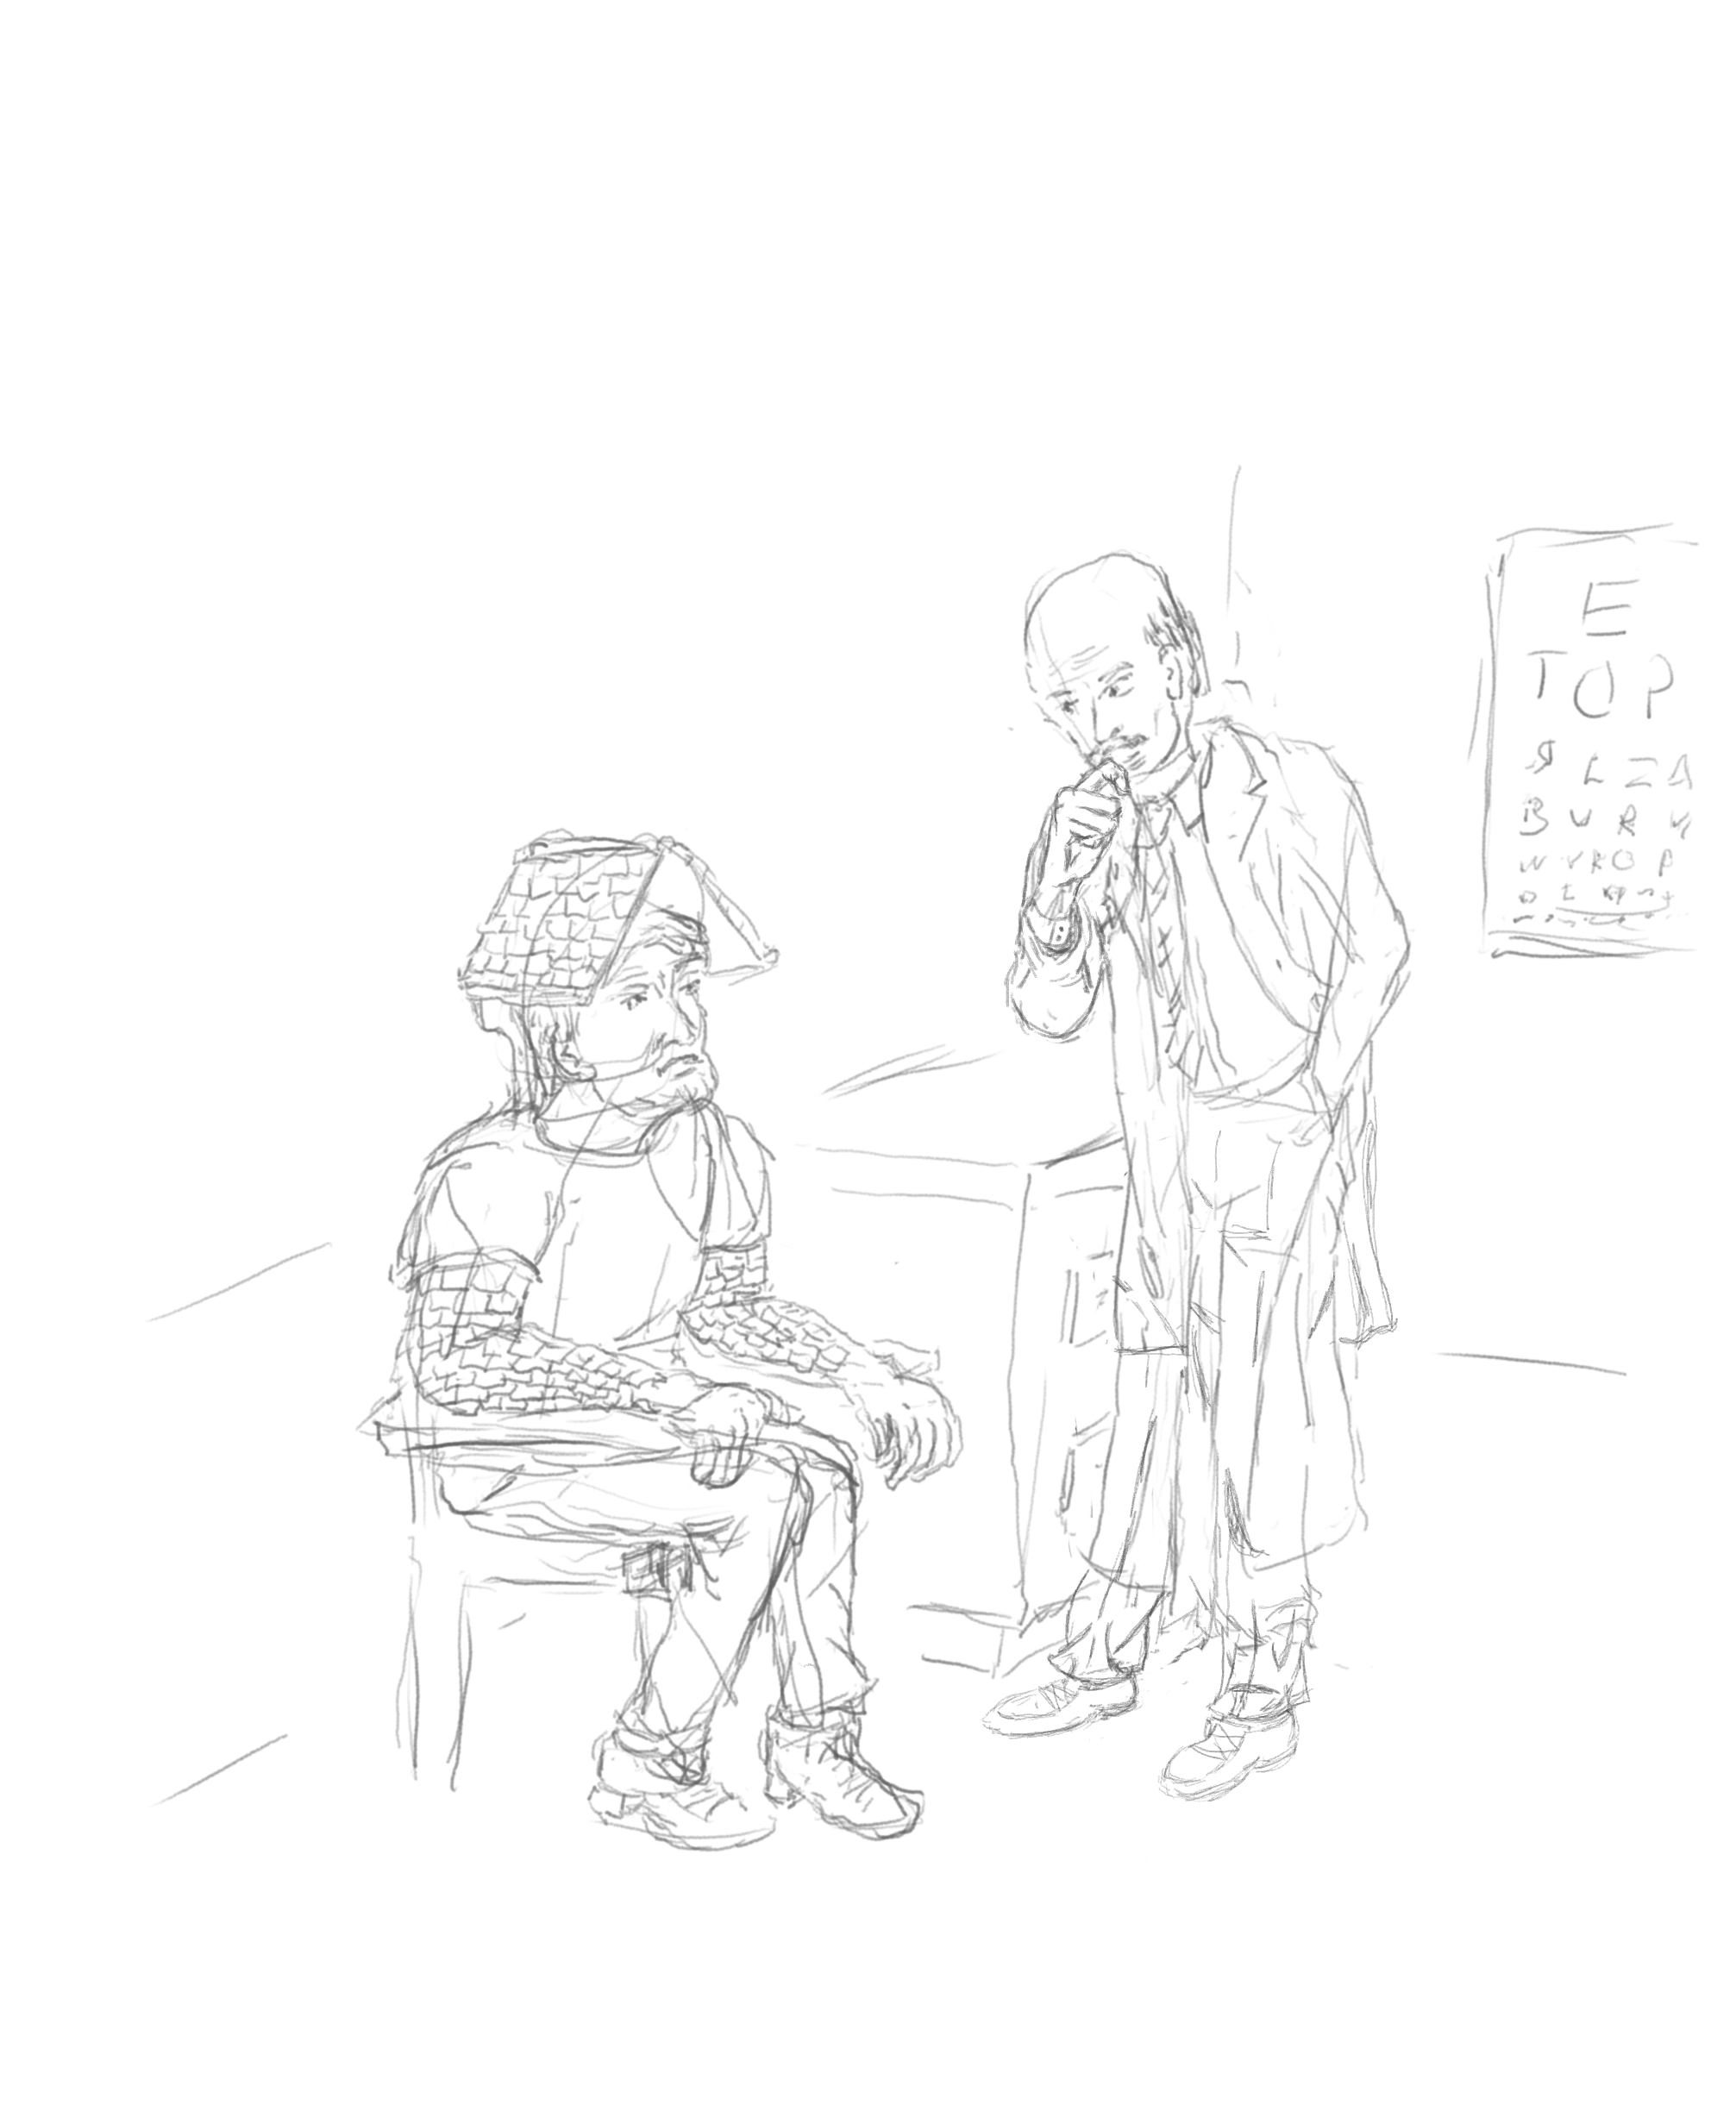
Initial (“Pencil”) Sketch:
The first step was to draw a
pencil sketch
of the image in Krita using the pencil tool. I figured I'd add a few things
like walls, a desk, and an eye chart, since that was mostly what was in
the exam room I was in (there was an exam table too, but that wasn't
relevant). While it's pretty close to the final version, you can see
the white lab coat goes down almost to the doctor's ankles. I wanted to
look at how some of the fabric folds would look and looked online for
sample reference images and discovered they either go just below the
waist or to the knees. I didn't erase the old one but later added the
end of the coat at knee height. The fabric folds from the doctor having
his hand in his pocket was reasonable. Also, I wanted it to be obvious
that the shingles were shingles, so I added a roof to his head. And a
gutter and downspout for good measure.
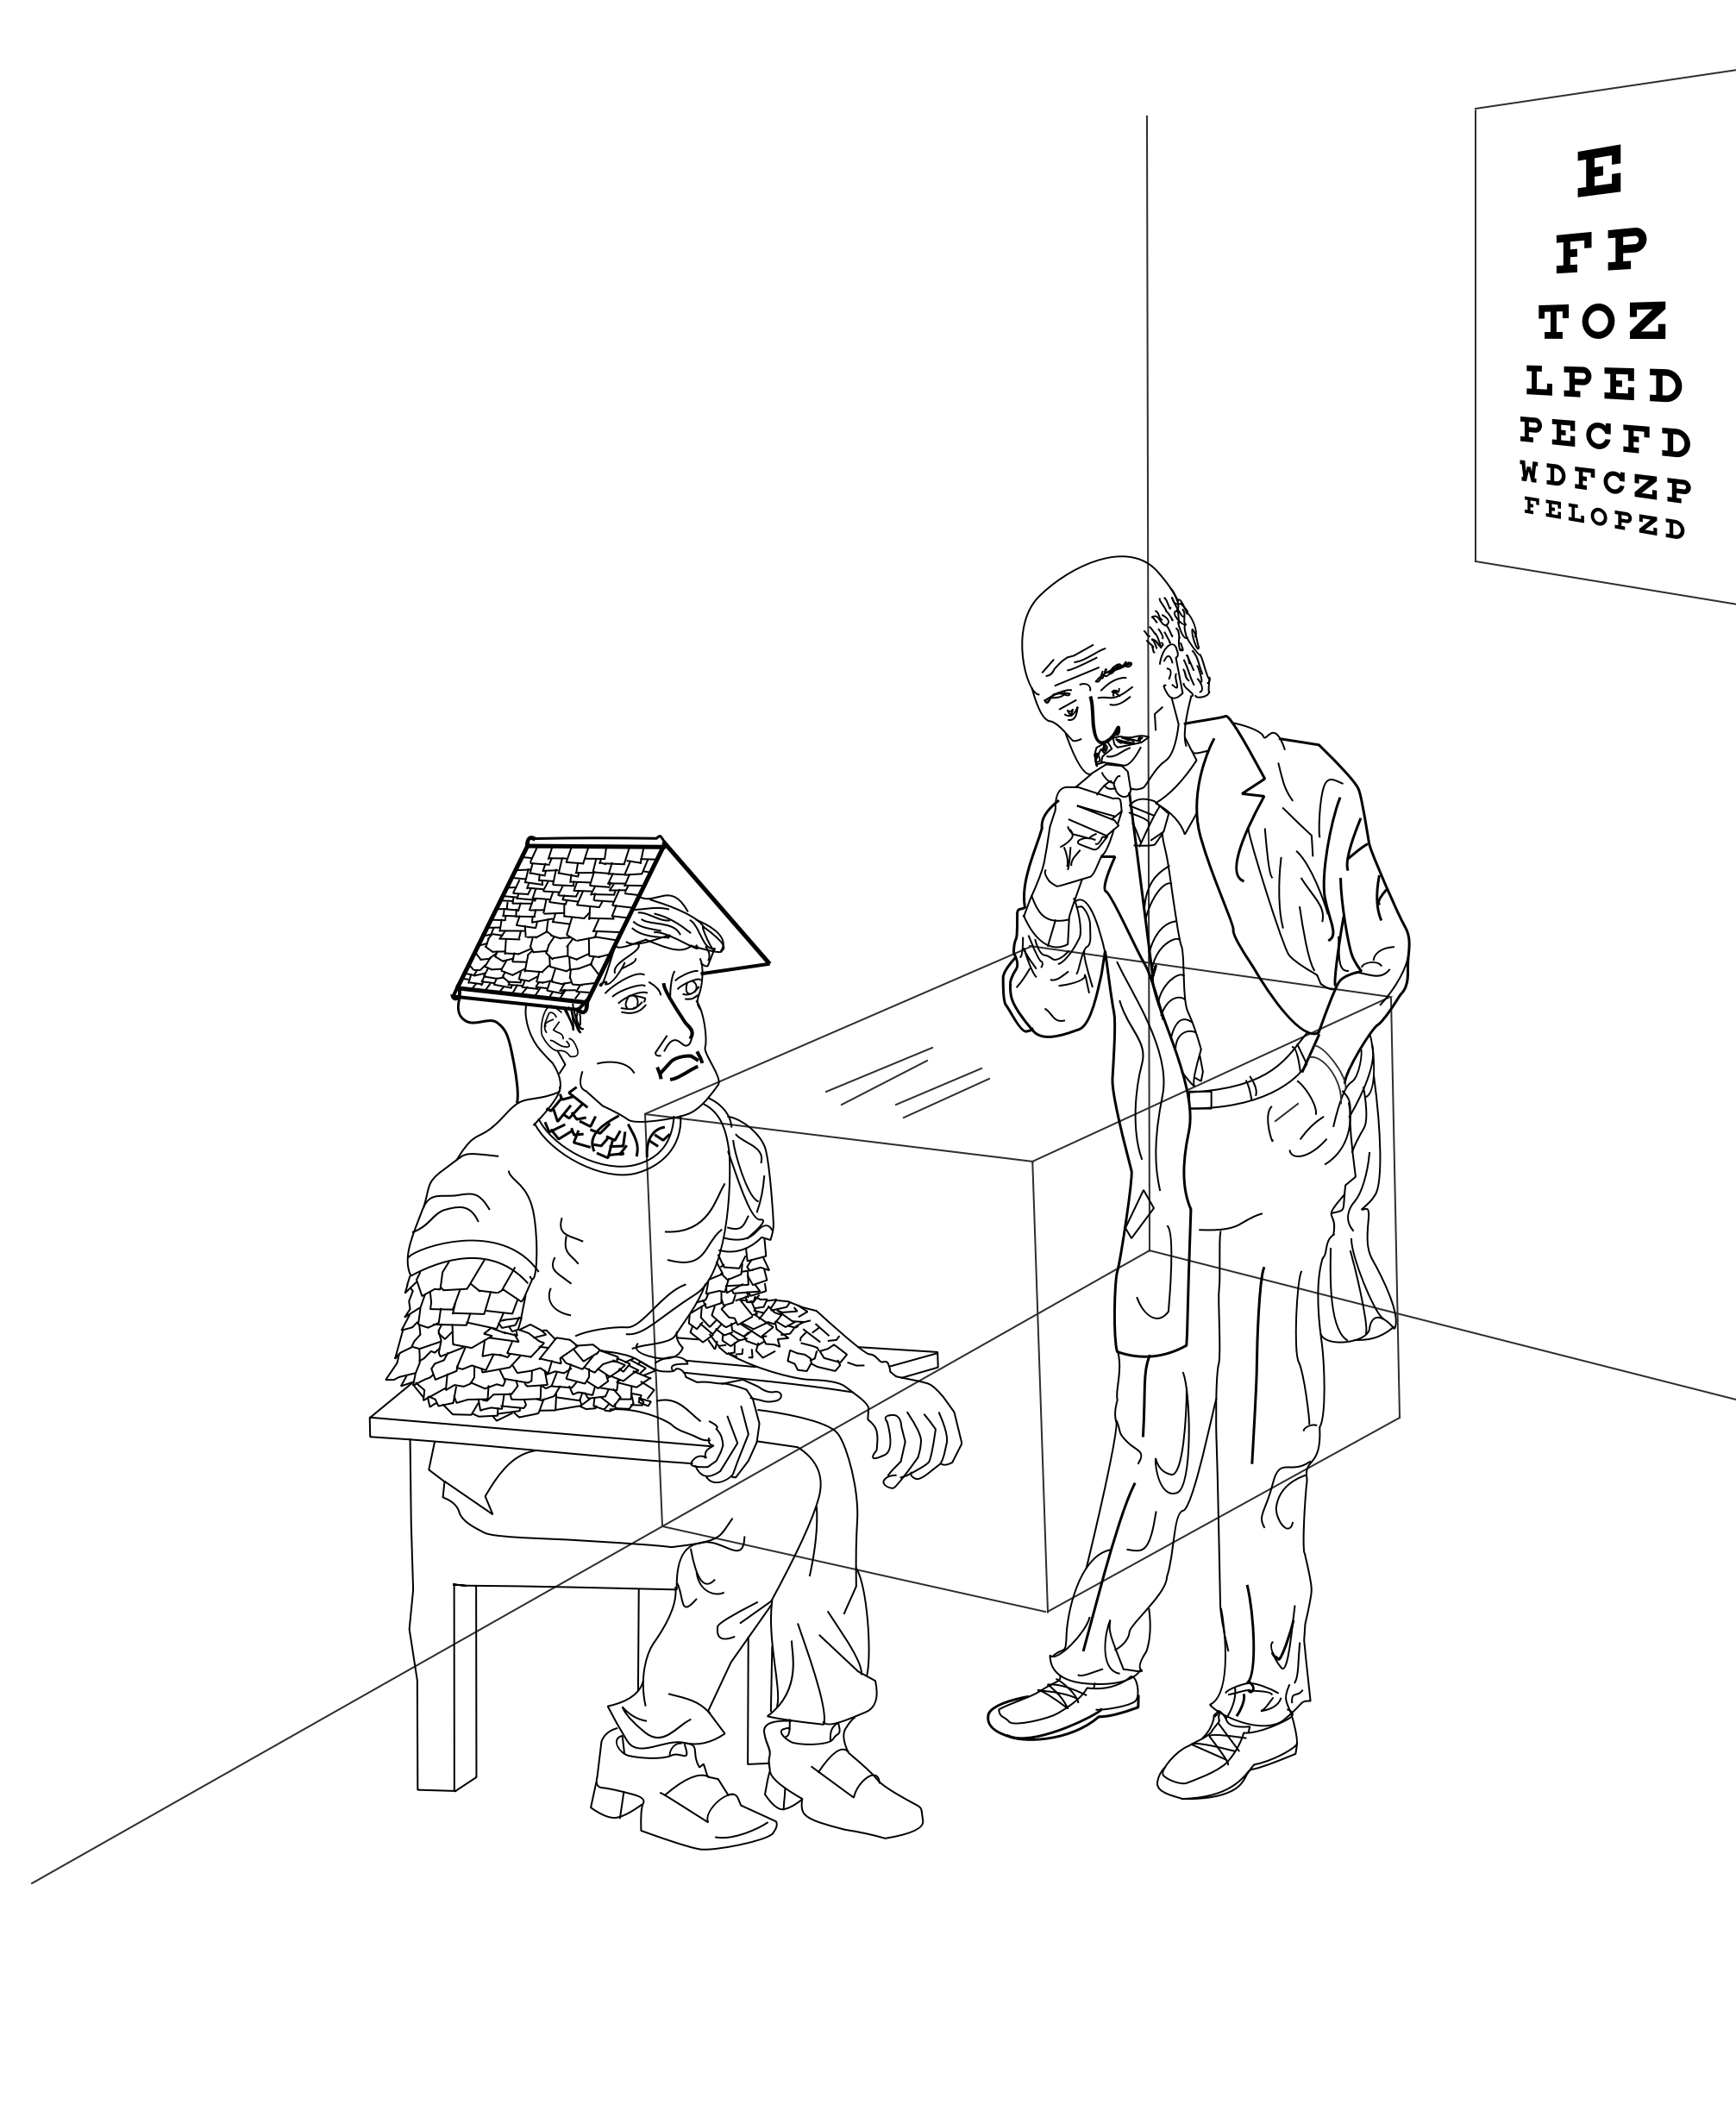
The Line Drawing (or “Inking”):
Next came the
line drawing.
While it took a little time to understand and get used to how Krita handles
drawing and modifying Bezier curves, it wasn't too hard or that different
from Illustrator functionally. I may need to add some keyboard shortcuts.
Anyway, the basic layout is there. I decided to make the shingles less
uniform, because that's more fun to draw, as well as having a more
scale-like appearance. And you could see that one arm is only partially
shingled (so far). I didn't put much time into the background because
it's just a suggestion of furniture.
Adding Text:
The speech balloon was simple. It's easy to vector draw objects and
then merge the two of them (similar functionality, just a different way
of doing it than Illustrator). I discovered a typo in the text after
posting it, but it was easy to fix and didn't require coordination
between Illustrator and Photoshop.
The Eye Chart:
I decided that I should use a real eye chart font, which lead me down
a little diversion looking into how Herman Snellen from the Netherlands
came up with the first standardized eye chart and font in 1862. Then,
in 1959, Louise Sloan updated it to be sans-serif, which is what's
generally used today. But it only has 10 letter, so a group created a
font based on that. But while I like accuracy, in this case I like serifs
more than accuracy and used a font that was based on the Snellen font
rather than the Sloan one. It LOOKS more like an old-school eye chart.
That was the only part I couldn't do in Krita, specifically being able to
perspective-warp a vector object. So I just used text in Illustrator,
changed it to a path (objects), grouped them, warped them, saved them
as an SVG file, and then imported that into Krita.
Coloring:
Coloring was pretty straightforward. I had different layers for the
background objects vs. the people. And had different flood-fill color
layers for those too. While Krita didn't have the Live Paint mode for
filling in color like Illustrator does, using the magic wand had the
same effect of being able to see what areas were included. It also had
a mode where you can draw a bezier curve as the selection path and then
adjust it was a lot easier than adding lines to close off objects
that looked like they were closed or adjusting end-points of lines so they
do close or intersect things. For complicated drawings in Illustrator,
that could get a little pokey. And then I added some shading. Krita has
two keys to pick a lighter or darker version fo the current color, so
that makes it easy to add shadows and folds (even if they don't look
look realistic).
Wrap up:
The whole process was pretty quick. I got the shot on Thursday. Started
to draw things on Friday (as the soreness faded), spent some time on it
on the weekend, but was also doing other things, and finished it and
put it up on Monday (today). Huzzah! And finally, here is the
full resolution
image.
|
Other entries
| < |
February 2026 |
> |
|---|
| Sun | Mon | Tue |
Wed | Thu | Fri | Sat |
|---|
1 |
2 |
3 |
4 |
5 |
6 |
7 |
| 8 |
9 |
10 |
11 |
12 |
13 |
14 |
| 15 |
16 |
17 |
18 |
19 |
20 |
21 |
| 22 |
23 |
24 |
25 |
26 |
27 |
28 |
|
|